Ziplining for Beginners: What to Expect, What to Wear, and Weight Limits
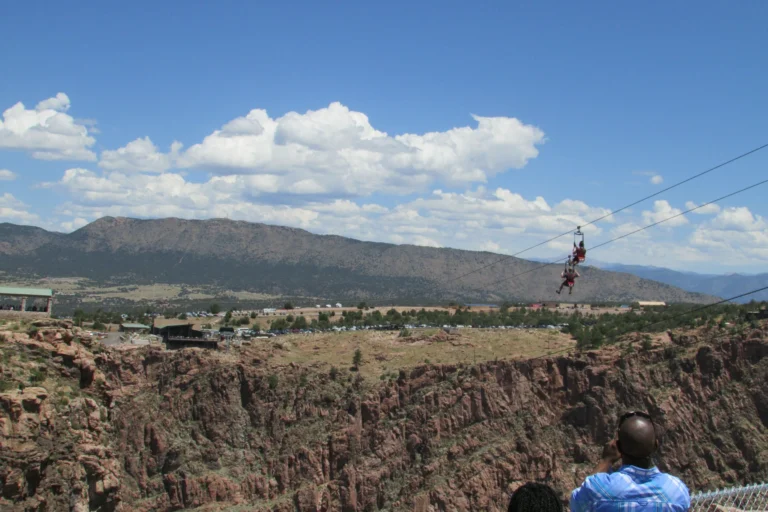
Ziplining looks simple from the ground: clip into a cable, push off a platform, and glide through the trees. Your first tour involves more than that one moment. You will check in, review eligibility rules, put on a fitted harness, listen to instructions, and usually complete more than one line or aerial element.
The biggest beginner mistake is assuming every zipline runs the same way. One operator may offer a short seated ride with staff-managed braking. Another may expect you to cross suspended obstacles, manage part of your own connection procedure, or hike between platforms. The right first tour is the one you can participate in comfortably—not necessarily the longest, highest, or fastest.
This guide explains what happens during a typical guided tour, what clothes and shoes to wear, how zipline weight limits work, and which questions to ask before you pay. Requirements described below are operator examples, not nationwide rules.
Ziplining for Beginners: Quick Answers
For a typical first-timer, the core decisions are straightforward: select a guided beginner-friendly course, confirm that you meet the exact operator’s age and size limits, wear secure closed-toe shoes, and allow enough time for instructions and walking. Some courses also require gloves.
| Question | Practical answer |
| Can beginners go ziplining? | Yes, many commercial guided tours are built for first-timers; check course difficulty. |
| Do you need upper-body strength? | Not usually for a simple guided ride, but some aerial parks require climbing and rope obstacles. |
| Is there a weight limit? | Yes, commonly both minimum and maximum; they vary by operator and specific tour. |
| What shoes should you wear? | Fully enclosed, secure shoes; verify the operator’s footwear rule. |
| Do you brake yourself? | Not always; systems range from automatic or staff-controlled to guest-assisted. |
| How long should you allow? | The complete tour can last much longer than the few seconds of each zipline. |
If your goal is a record-breaking ride rather than a gentle introduction, read our longest and fastest ziplines in the USA. That comparison covers a different type of trip.
What Happens on Your First Zipline Tour?
The experience usually follows a predictable sequence, but its pace and responsibilities vary. Here is what to expect rather than a universal promise of how every operator works.
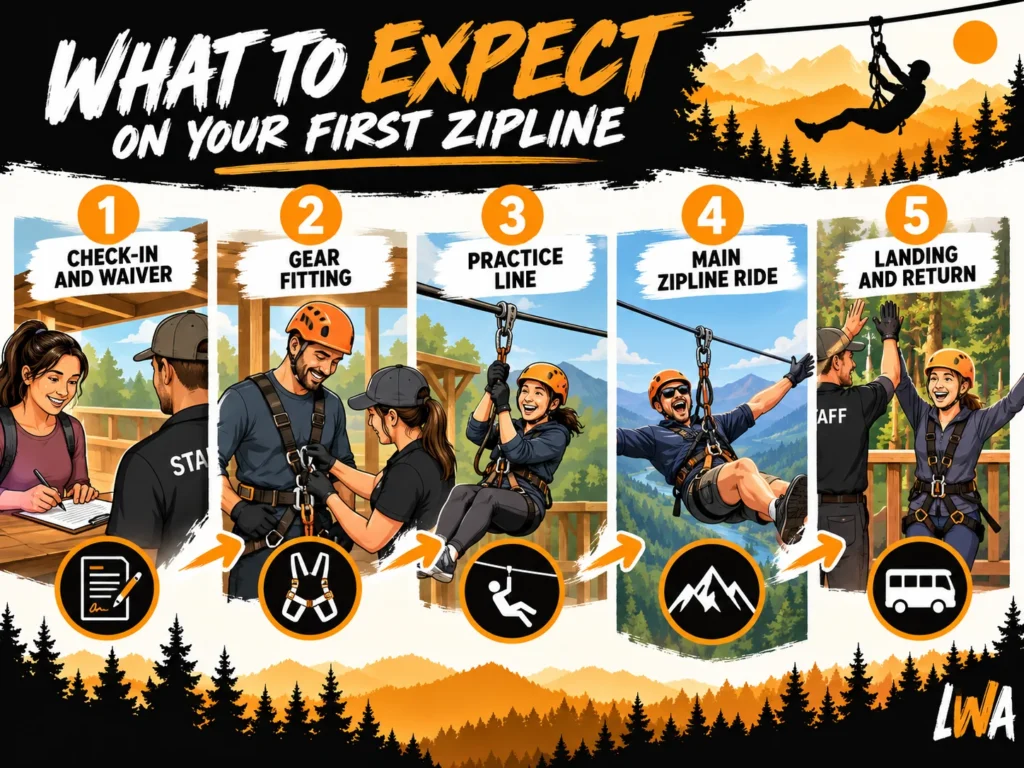
1. Check-in, waiver, and eligibility screening
You arrive at the meeting point, confirm your reservation and required consent documents, and check any weight, age, height, or health restrictions. Operators may weigh guests privately because braking performance and harness fit depend on the rider falling within the equipment’s intended operating range.
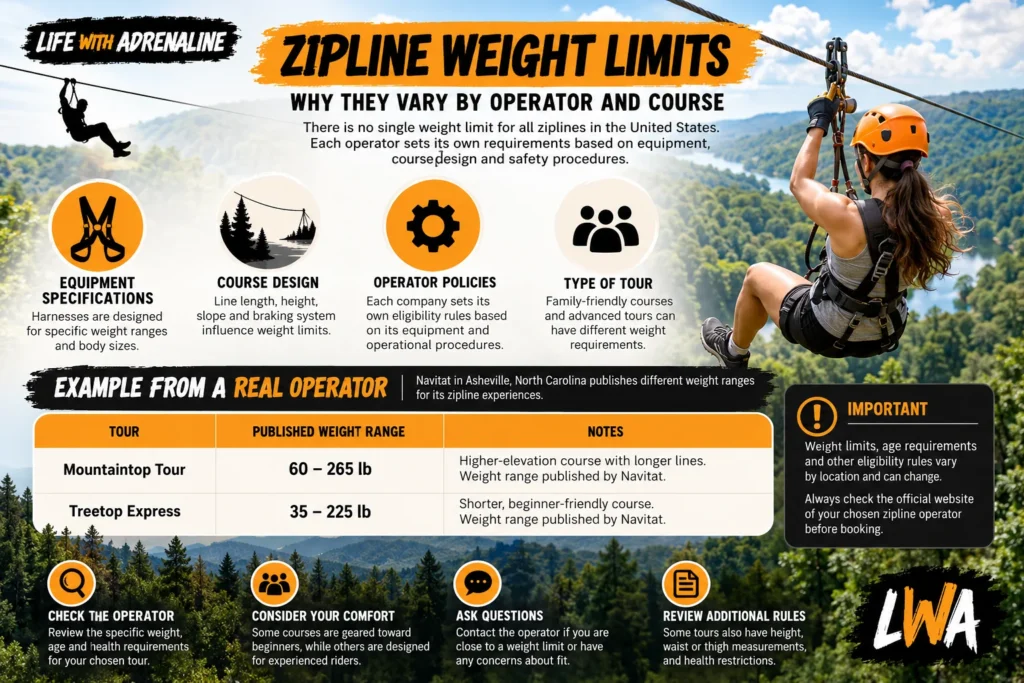
Navitat Asheville says each guest is weighed at check-in and will not be admitted to a tour if outside the stated range. It lists 60–265 pounds for its Mountaintop Tour and 35–225 pounds for its Treetop Express Tour. The same company therefore has different limits for two distinct experiences.
2. Harness and helmet fitting
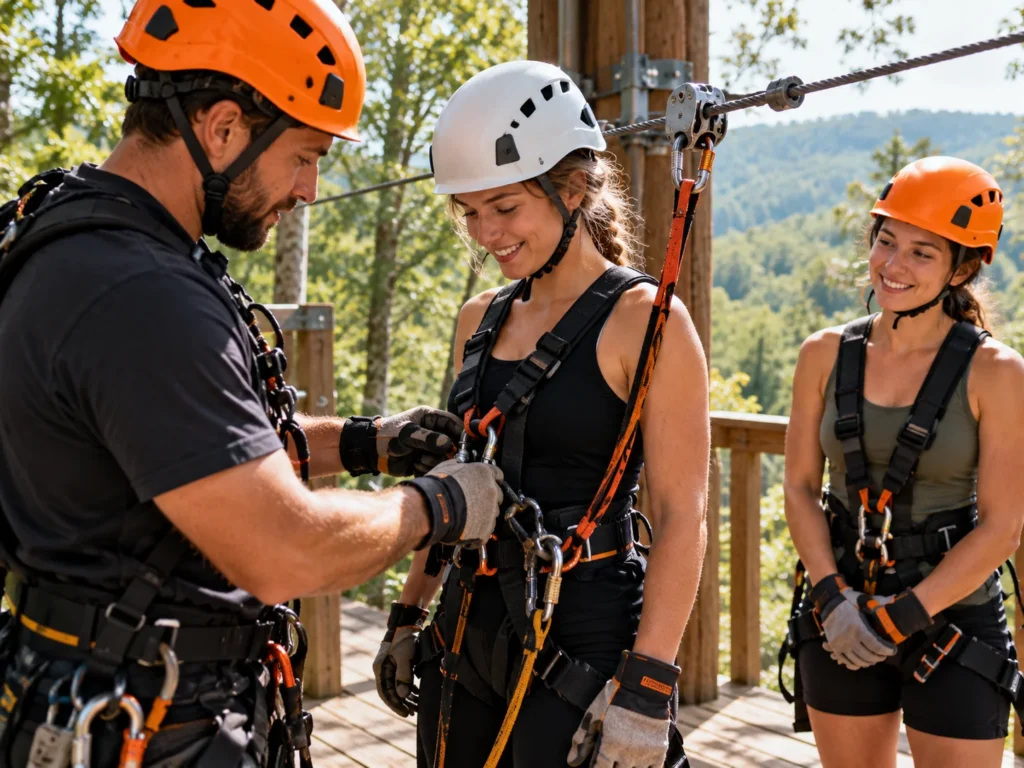
Staff normally select and inspect a fitted harness, adjust the waist and leg loops, and explain what not to touch. A helmet may be required depending on the course. A rider’s weight fitting within limits does not guarantee the harness itself fits correctly; waist and thigh dimensions can matter too.
At Go Ape, published harness measurements include maximum waist and upper-thigh dimensions. Ask the operator about harness fit before booking if you are close to a posted limit. Do not attempt to modify a harness yourself to make it fit.
3. Safety briefing and practice
Listen for instructions about how to approach the launch edge, where to put your hands, what posture to maintain, how braking works, and what to do if you stop short of the landing platform. Ask a guide to explain or demonstrate anything you did not understand.
On some courses, participants handle a trolley or transfer between attachment points under staff supervision. On others, the guide performs these actions. The operating procedures are not interchangeable: only follow the instructions for the equipment you are actually using.
4. Walking, climbing, and waiting your turn
A forest zipline tour may include short hikes, stairs, ladders, suspended bridges, or aerial obstacles between lines. Go Ape specifically warns that its treetop experiences require guests to complete obstacles to reach each zipline, and that climbing ability is relevant. A short standalone launch platform is a different activity.
Plan for the whole course rather than a single thrilling image in the advertisement. Ask how far you will walk, whether there are steep sections, and whether the course can be exited early.
5. Launch, ride, and landing
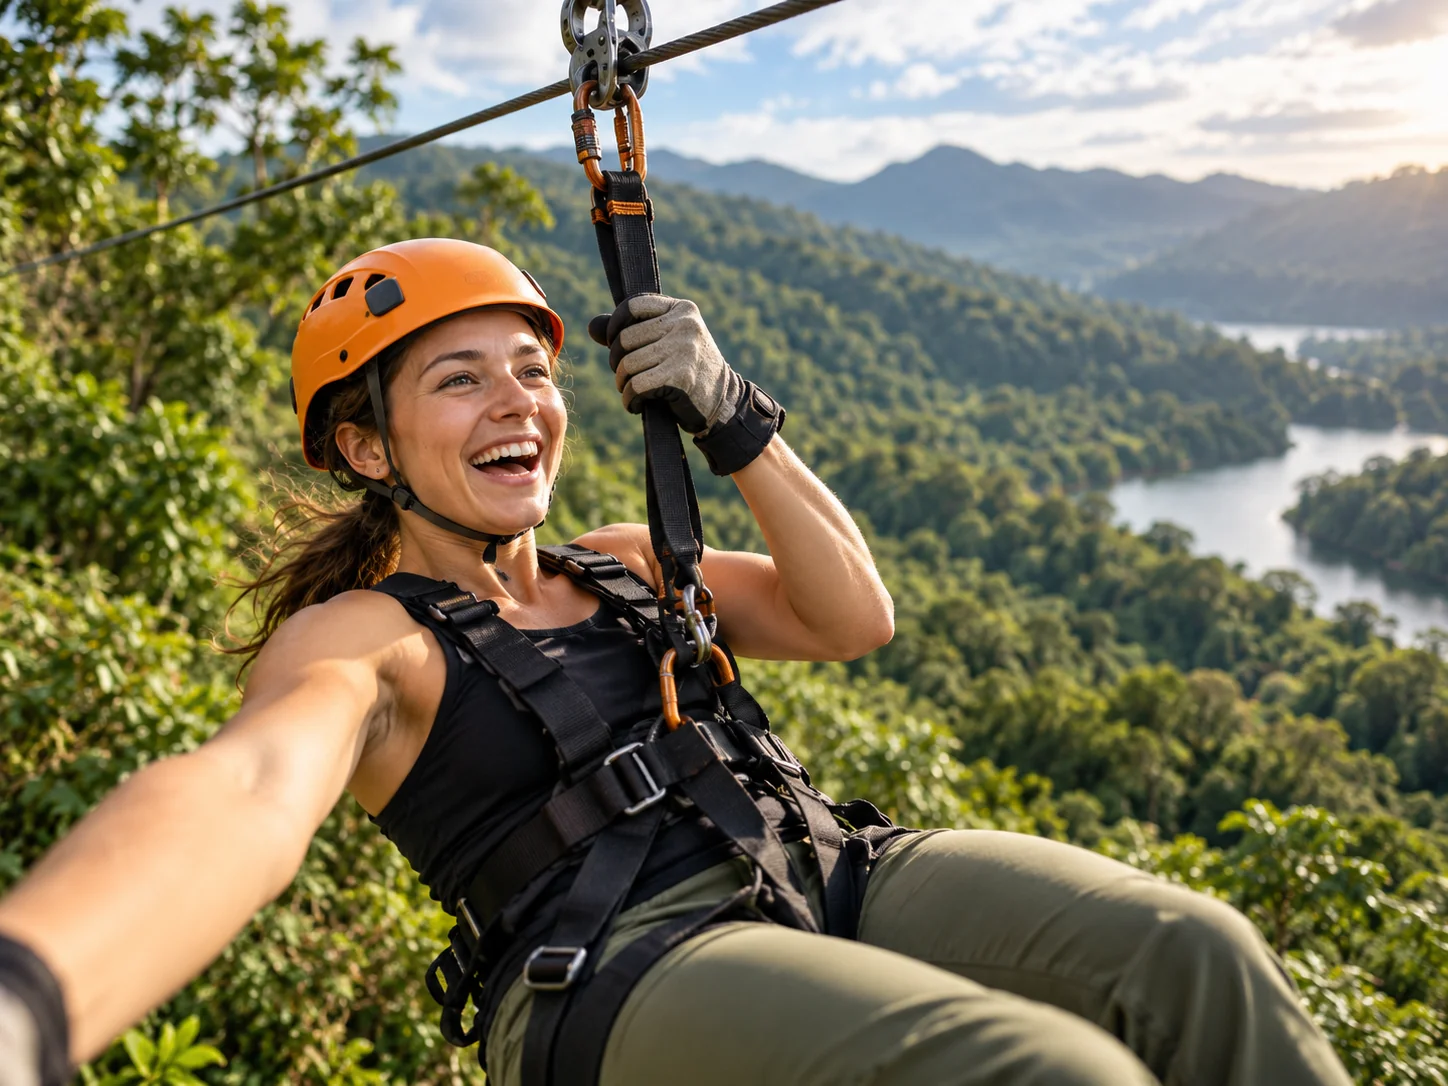
At the platform, wait for the guide’s signal, adopt the demonstrated posture, and let the equipment and trained staff do their jobs. The ride itself may be brief. You may feel acceleration, moving air, vibration, and a change in perspective as you leave solid ground.
Near the landing, follow the specific braking and leg-position instructions given during your briefing. Do not grab the cable, improvise a stop, or assume a technique you saw online applies to your tour. After you stop, remain in the instructed position until staff tell you how to disconnect or move off the landing zone.
Zipline Weight Limits: Why They Vary
There is no credible single “USA zipline weight limit” that applies to all commercial courses. Operators set eligibility around equipment specifications, line geometry, speed, braking arrangements, and operational procedures. Different lines in the same park can have different ranges.
| Operator example | Published participant weight range |
| Navitat Asheville — Mountaintop Tour | 60–265 lb |
| Navitat Asheville — Treetop Express | 35–225 lb |
| Another operator or course | Check the current tour-specific rules; do not infer a limit |
These Navitat figures are examples verified from its official FAQ, not recommendations for other attractions. A posted maximum is not a personal challenge to get as close as possible to it. A minimum matters too: lighter riders may not travel along the cable or engage the braking system as intended.
If you are near a published threshold, contact the exact tour to confirm how it measures weight, what clothing or equipment counts, whether limits change with conditions, and whether a different course is available. Do not book on the assumption that a staff member can waive a technical restriction.
Zipline Age, Height, Fitness, and Health Requirements
Age rules vary by attraction and often come with supervision ratios. A family-oriented treetop journey may accept younger participants than a high-speed adventure line. Height and reach can also matter, particularly where participants operate connectors or need to climb.
Physical demand is more nuanced than fitness level. You might need to walk uneven trails, climb a ladder, maintain a posture while suspended, or stand for a briefing. Other rides are more passive. Someone who does not enjoy intensive exercise can still find certain guided adrenaline activities suitable; our adrenaline activities that do not require extreme fitness explains that distinction.
Tell the operator about pregnancy, recent injuries or surgery, significant joint or back problems, balance concerns, relevant cardiovascular conditions, or other limitations that could affect participation. Its rules may exclude or require individual assessment. A general blog guide cannot offer medical clearance.
If you are planning with children, do not focus only on the minimum age. Verify height, weight, required adult attendance, attention span, ability to follow instructions, and whether the child actually wants to participate.
What to Wear Ziplining
Wear clothing that moves comfortably under a harness and suits the forecast. For a first trip, the safest shopping decision is usually to use suitable clothing you already own rather than buying specialized zipline gear.
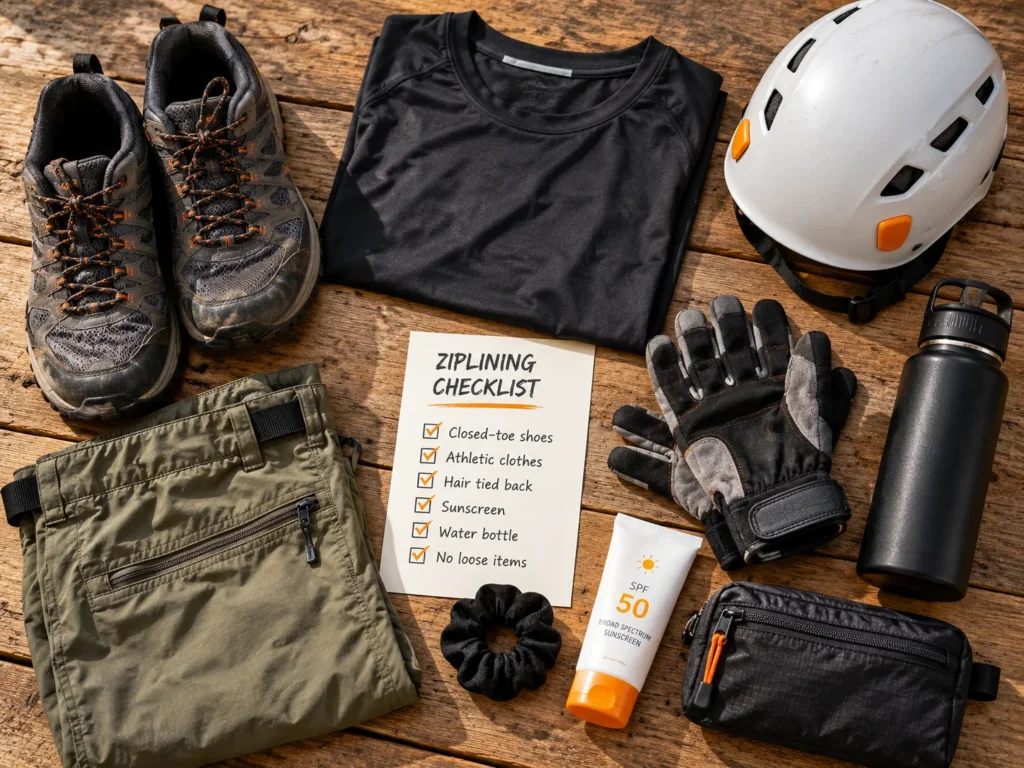
Closed-toe, closed-heel shoes are the strongest default. Well-fitting sneakers or hiking shoes are generally preferable to flip-flops, loose slides, or sandals. Go Ape and Navitat explicitly require fully enclosed or closed-toe shoes on their relevant tours. Choose traction and a secure fit, because you may walk on dirt or damp platforms.
Long pants or mid-length shorts can reduce harness rubbing; avoid very loose fabric that could interfere with straps. Tie long hair back, and secure or remove dangling jewelry. Go Ape currently requires gloves on its treetop activities and gives particular clothing instructions, while other operators may have different glove policies. Do not assume you need to buy gloves before reading the booking instructions.
For cooler or changeable weather, choose light layers and a suitable rain shell. For sunny courses, use sun protection that does not affect grip or equipment. Ask which items may be carried in a pocket or zipped pouch. Cameras and phones often need secure attachments, and some operators prohibit bags on the course.
What to Bring: A Practical First-Time Checklist
Before leaving your accommodation, check your booking confirmation, meeting address, check-in time, and the operator’s footwear and clothing policies. Bring any required identification, consent documents, hair ties, appropriate layers, and water for before or after the course.
Bring gloves only when required or recommended for your specific tour, and ask whether the venue supplies them. Leave unnecessary valuables behind or use the lockers if available. If you want photos, confirm whether cameras or phones are permitted on the cables and what type of tether is acceptable.
A quick packing reminder: secure closed-toe shoes, comfortable clothing, weather-appropriate layer, tied-back hair, reservation details, and any explicitly required gloves. Keep the list short enough that you can actually follow it.
How Scary Is Ziplining for the First Time?
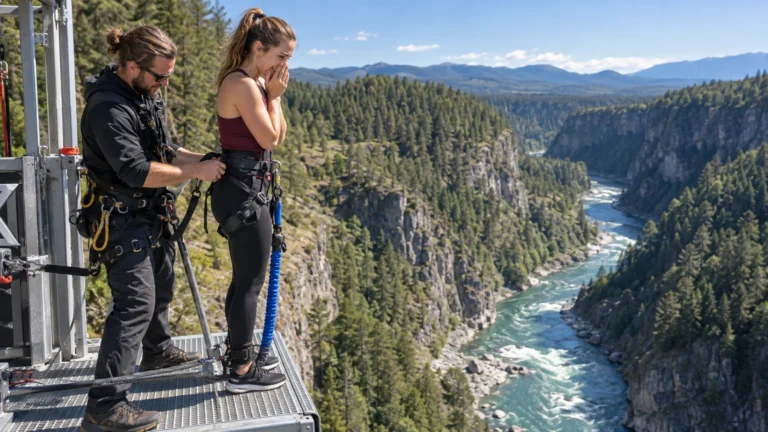
The anticipation on a launch platform can feel more intense than the ride itself. Looking down, waiting for the guide’s signal, and losing contact with the platform can all make your heart race. Other people are surprised by how controlled the movement feels once they are gliding.
No guide should promise that you will feel no fear. If you are worried, ask for a shorter first line, a demonstration, or a tour with easier exits. Check whether you can watch participants before deciding. The best response to anxiety is accurate information and a decision you can make freely—not pressure to jump into an activity you do not want.
Also distinguish fear of heights from fear of equipment. Asking to see the connection points and braking explanation can answer practical questions, but it does not replace following the guide’s on-site safety procedures.
How to Choose a Beginner-Friendly Zipline Operator
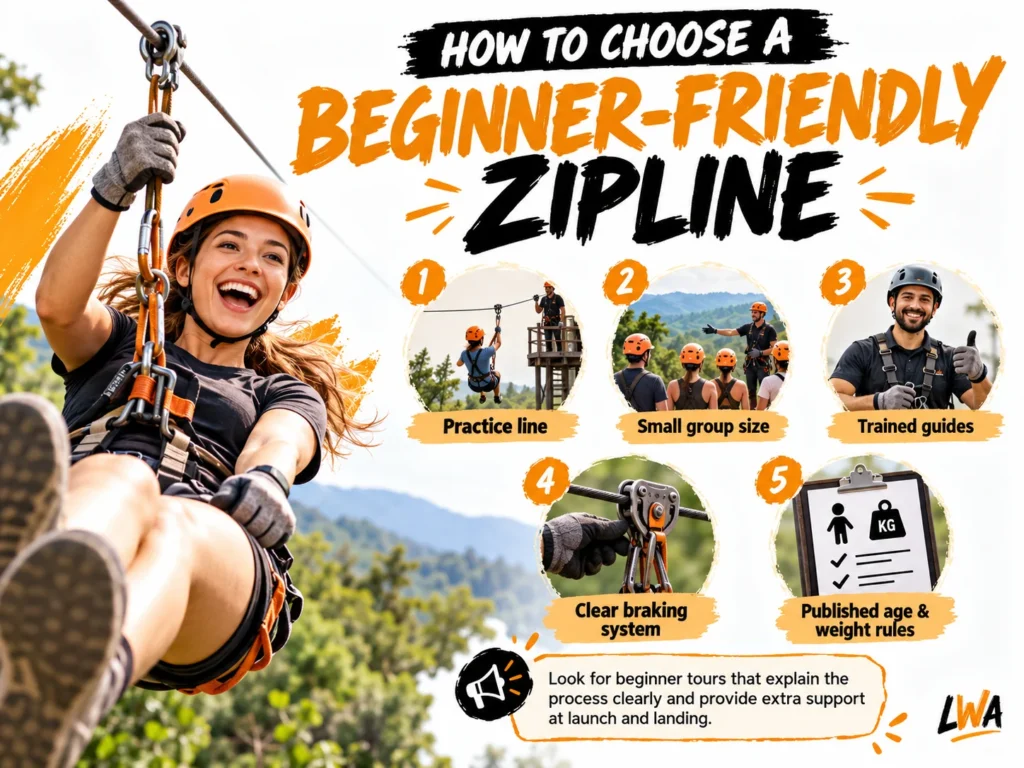
Look beyond marketing phrases such as “perfect for everyone.” A strong booking page clearly explains eligibility limits, walking and climbing demands, number of lines, duration, weather rules, how the course is supervised, and whether staff manage launch and landing.
Ask whether guides inspect equipment before use, conduct a fitting and practice briefing, monitor attachment procedures, and have emergency-response and retrieval plans. ACCT International publishes standards and an operations accreditation process for challenge courses and zipline operations; accreditation is one evidence point, not a guarantee of zero risk.
Compare the complete activity: transportation between lines, physical effort, how far you are above ground, staff guidance, cancellation policy, and the real checkout price. A long course with ten obstacles may be less suitable for a beginner than a single line with a simple supervised launch.
When you are ready for bigger thrills, our guide to the longest and fastest U.S. ziplines explains why headline speed and cable length should not be treated as beginner-friendliness rankings.
Common First-Timer Mistakes to Avoid
Mistake 1: assuming a weight limit found on another company’s site applies to your reservation. Check your exact experience.
Mistake 2: arriving in sandals or slip-on shoes. Many operators require secure enclosed shoes and may refuse an otherwise eligible participant.
Mistake 3: overlooking an approach hike or obstacles. Read the full course format, especially if you have limited mobility or are traveling with children.
Mistake 4: treating a harness as an excuse to ignore instructions. Listen to the guide, keep your hands where directed, and never improvise your own braking method.
Mistake 5: scheduling the tour too tightly. Check-in, gear fitting, waiting, walking, and weather delays can add significant time to the outing.
Frequently Asked Questions
Can you go ziplining if you have never done it before?
Yes. Many guided commercial zipline experiences welcome first-timers. Choose a course advertised and documented as suitable for beginners, and confirm all individual requirements before booking.
What is the minimum and maximum weight for ziplining?
It depends on the specific operator and course. For example, Navitat Asheville lists 60–265 pounds for its Mountaintop Tour but 35–225 pounds for Treetop Express. Never substitute those ranges for another attraction’s rules.
Do you have to be athletic to zipline?
Not necessarily for a straightforward guided line, but some treetop courses require ladders, trail walking, or aerial obstacles. Ask about the whole experience rather than judging only the cable ride.
Can you wear shorts ziplining?
Often yes, if they allow the harness to fit correctly and meet the operator’s clothing rules. Longer shorts or pants can be more comfortable where harness straps contact the legs.
Do you need gloves to go ziplining?
Some operators require them and some do not. Go Ape currently requires gloves for its treetop activities. Follow your selected venue’s guidance rather than buying them automatically.
Do you have to brake yourself on a zipline?
Not on every course. Braking arrangements vary. Guides will teach the correct procedure for the exact system you will ride; never rely on generic internet instructions for braking.
The Bottom Line
Your first zipline adventure should be a guided experience whose eligibility rules, equipment, walking demands, and intensity match you. Confirm the tour-specific weight range and harness fit, show up in enclosed shoes, listen closely during the briefing, and choose the course that sounds enjoyable rather than the one with the biggest numbers.
If one detail is unclear—especially weight limits, physical demands, or what happens on the landing platform—contact the operator before paying. A few clear answers are worth more than a dramatic promotional photograph.
Sources
Go Ape — Official FAQs and clothing/harness requirements: https://www.goape.com/faq/
Navitat Asheville — Tour-specific weight limits and clothing requirements: https://navitat.com/asheville-nc/faq/
ACCT International — Operation accreditation: https://www.acctinfo.org/operation-accreditation
ACCT International — Vendor accreditation / operational documentation: https://www.acctinfo.org/vendor-accreditation-requirements